
To properly route the cable you should remove the seat and the petrol tank of the bike. The Gipro requires a separate cable connection to a 12 volts power supply that is switched on and off via the ignition key. A suitable power supply for this purpose is the blind plug which is plugged into the connector for the alarm system if no alarm is fitted:
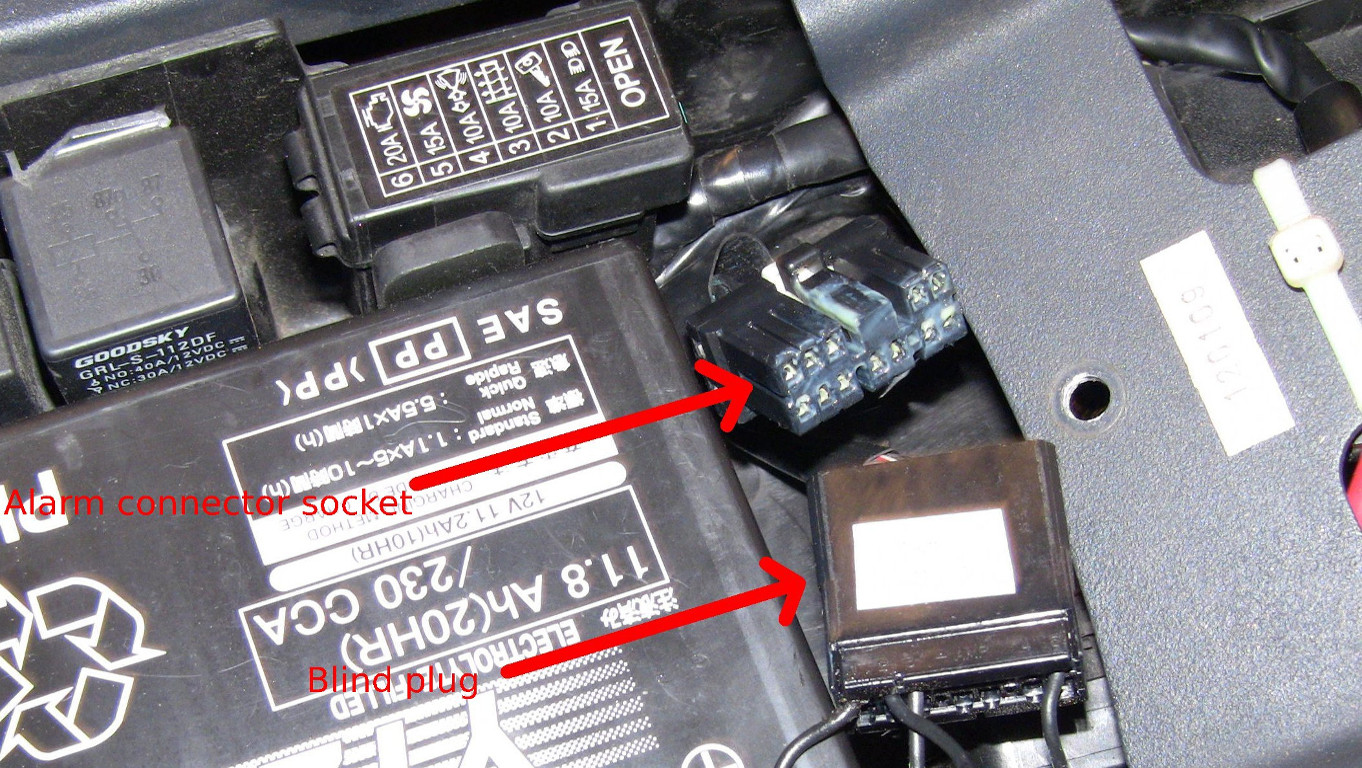
Remove the blind plug. The blind plug has two cable loops. The one we need is the shorter of the two loops (see picture below). Note: this loop cable is fused via the fuse number two of the bike's fusebox, in above picture that is the 10A fuse labelled with the ignition key symbol. I will not put in a separate fuse into the Gipro's circuit, so if the Gipro shortens out it will blow the 10 A fuse no. 2. If you feel that you need a separate fuse for the Gipro circuit, then you may want to add a 2 Ampere in-line fuse into the power supply feed of the Gipro.

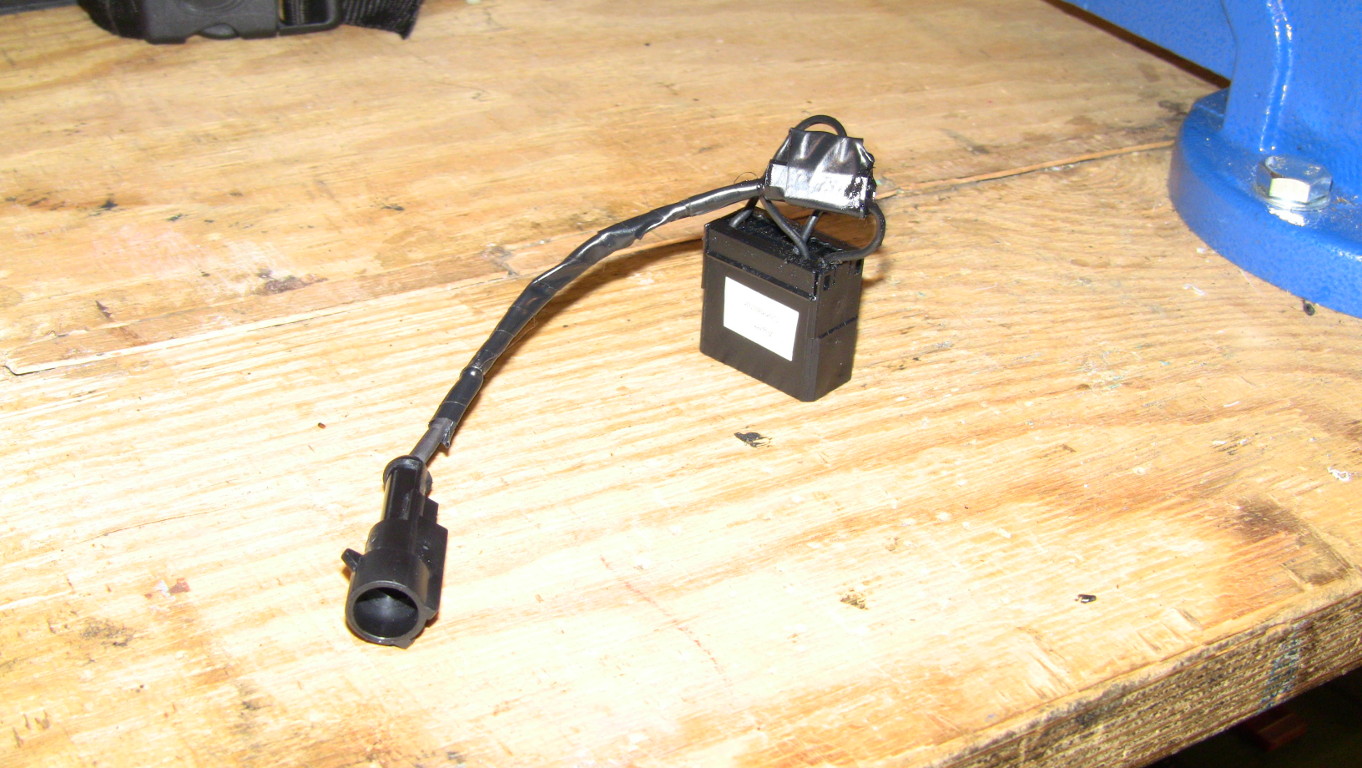
The Gipro kit comes with a crimp-type connector which is supposed to be used to connect the red "plus" cable of the Gipro device with the power feed cable on the bike, i. e. the above loop cable in our case. This is not a very good solution, because we wouldn't be able to disconnect the power cable of the Gipro from the blind plug, unless we unplug the entire blind plug. Given that the bike won't start without the blind plug in place, I want a separate plug and socket that allows us to disconnect the Gipro from the wiring without disconnecting the blind plug. For this I use a screw terminal (who's openings and screws I have closed off using mastic) to connect a watertight socket to the loop cable:
Such watertight connectors are available from special suppliers. In the UK you can get them from e. g. Demon Tweeks, in Continental Europe you can get them e. g. from Conrad Electronics.
The matching watertight plug that will fit the above socket is put in place on the red power supply cable of the Gipro:
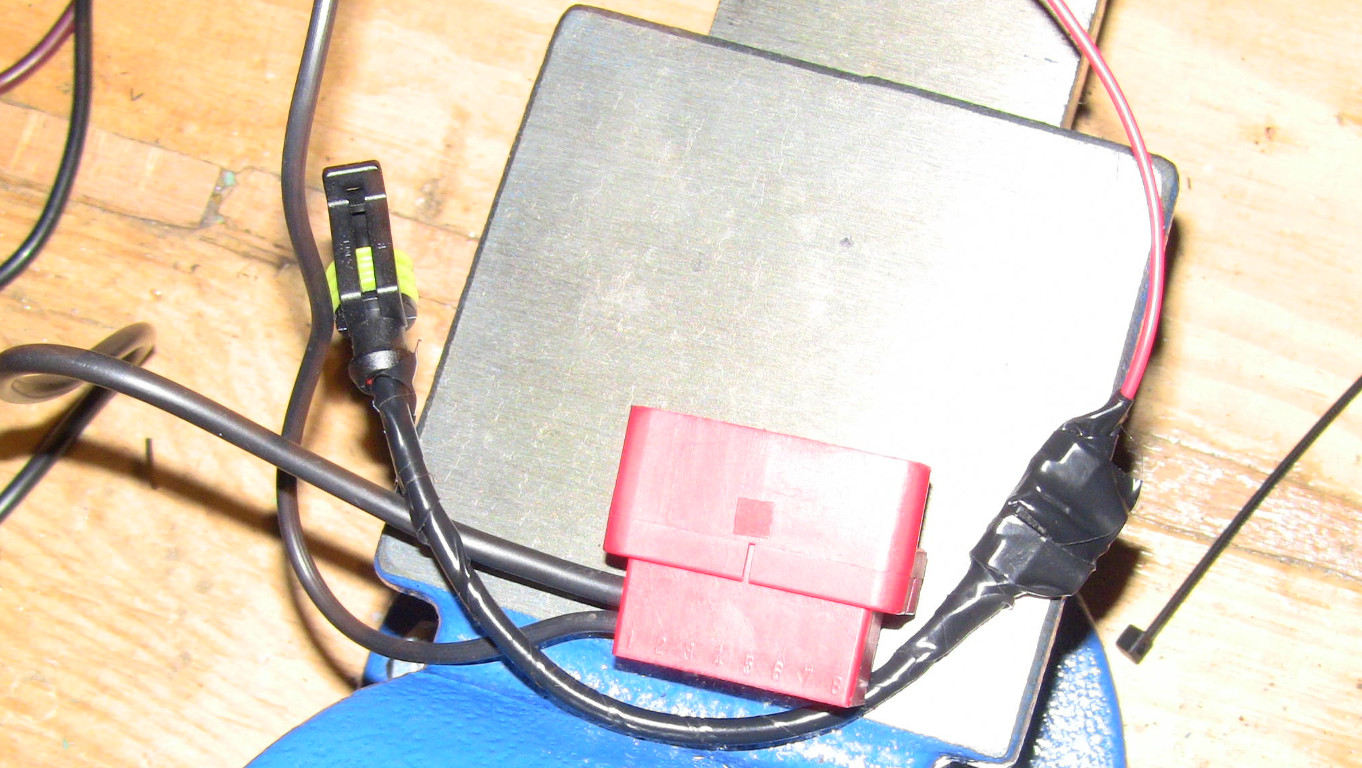
Note the big red OBD II connector plug in above picture - that will go onto the diagnostic socket of the bike.
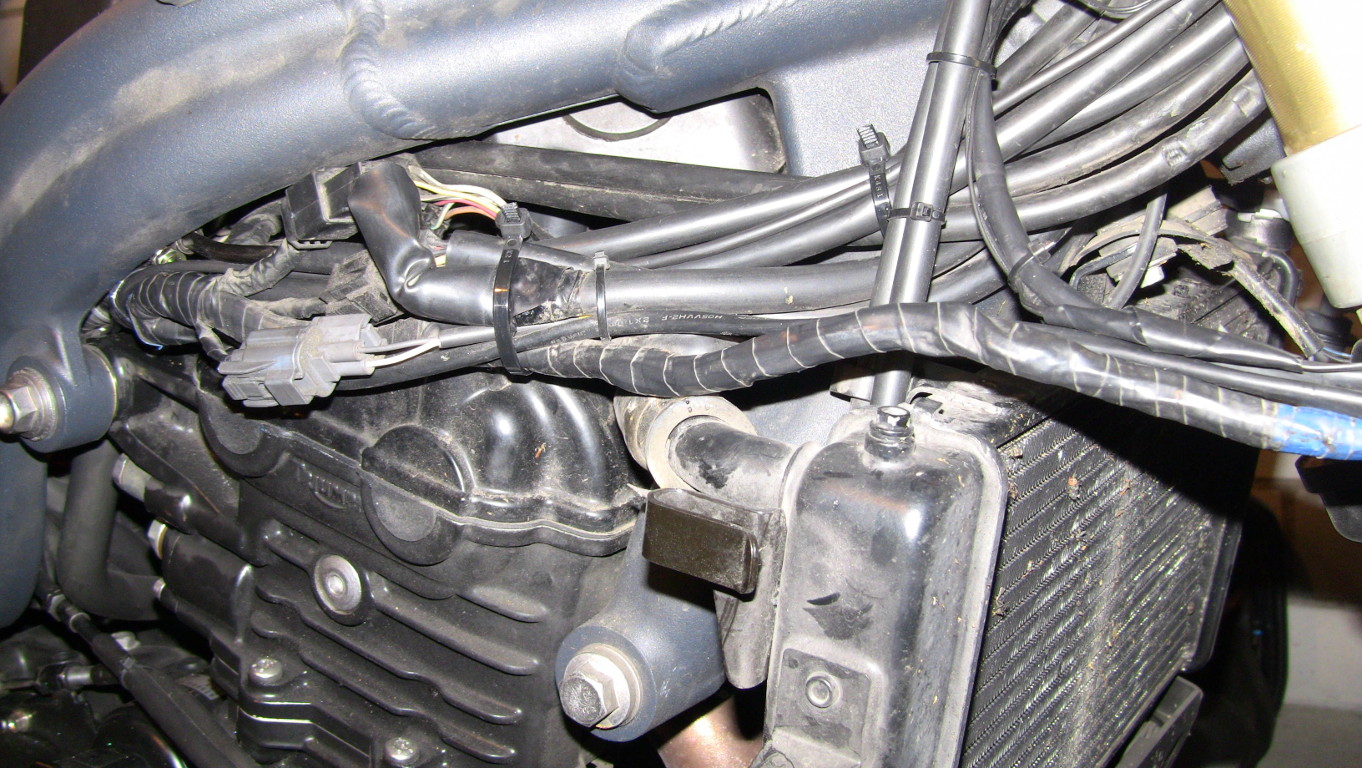
Starting from the rear end of the bike, route the Gipro connection cable forwards along the right side of the bike:
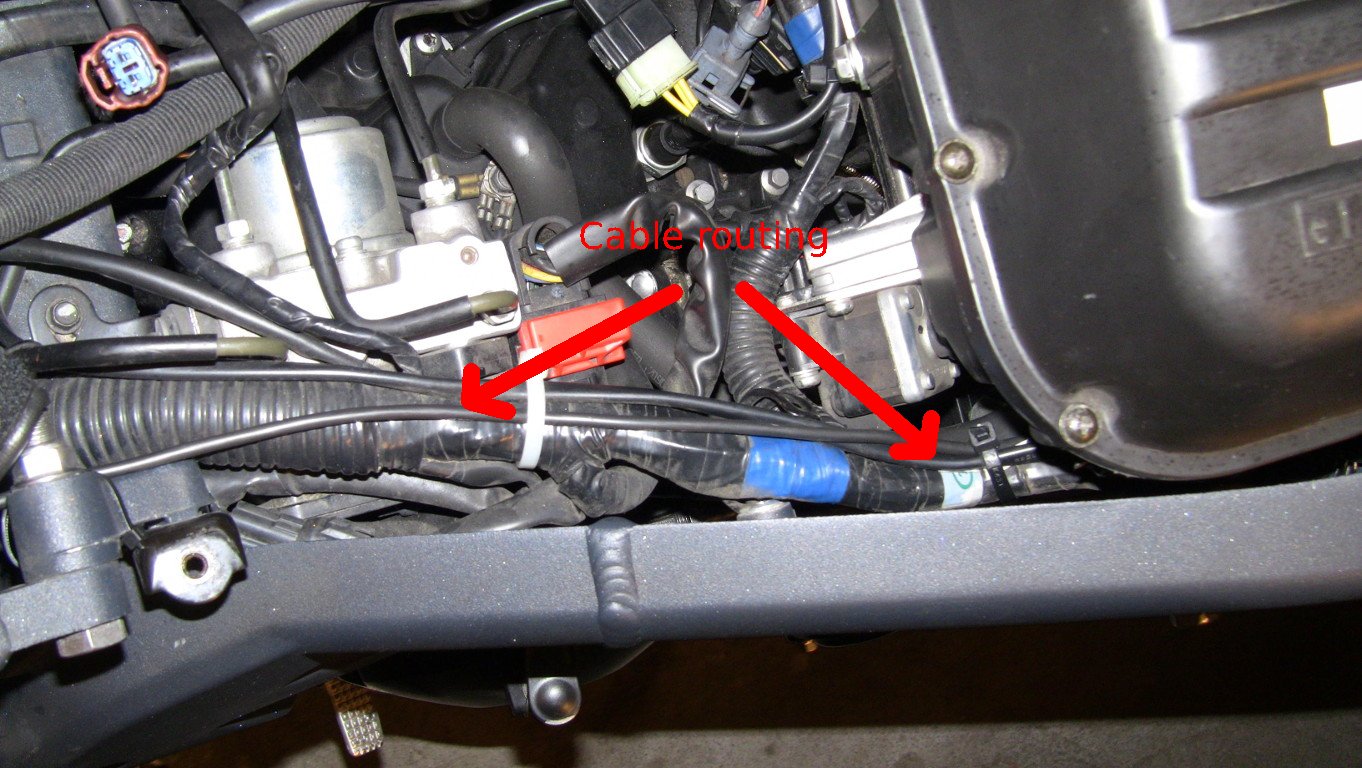
Ignore the fact that in above image you can see two cables being routed - the other cable belongs to my DG8 unit.
Route the cable above the right engine mounting bracket - it is a tight fit, but it can be done:
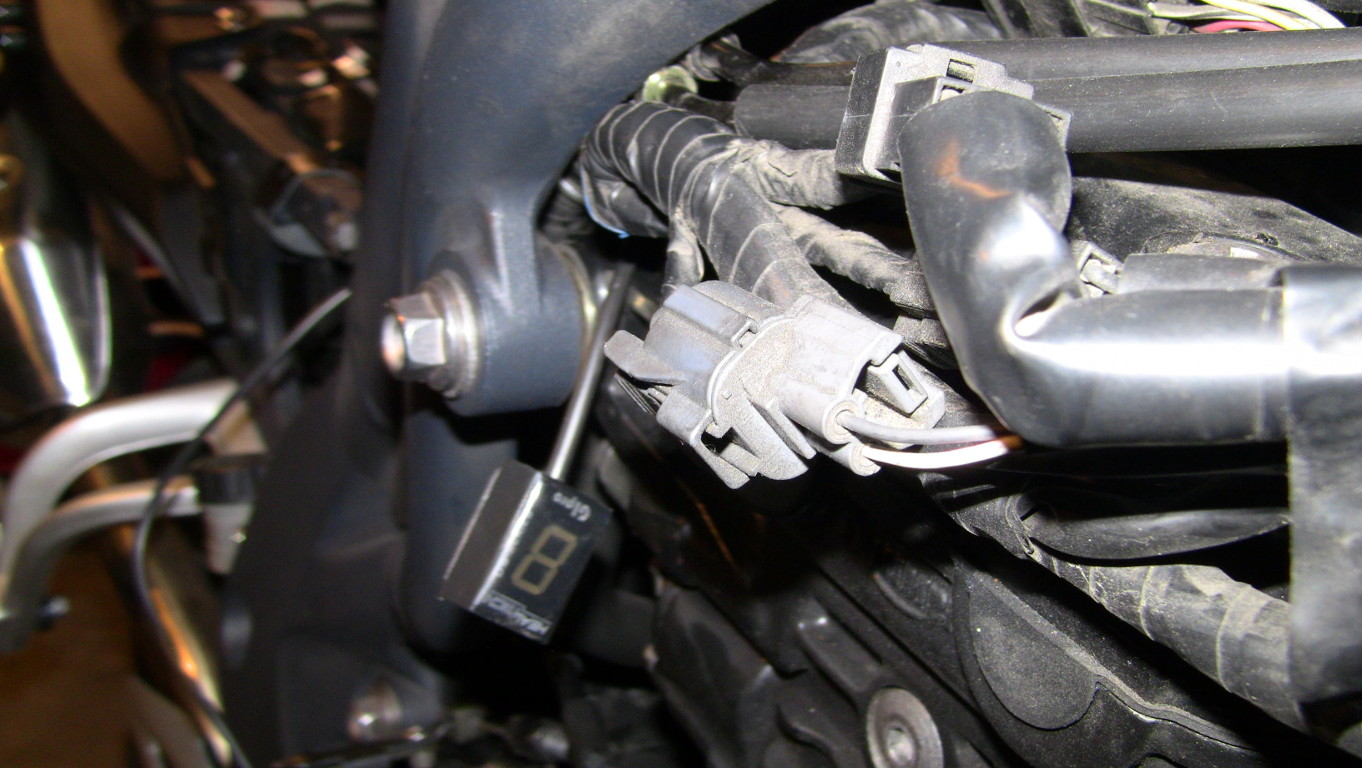
Continue the routing along the existing wiring loom towards the instrument cluster. Ignore the extra set of throttle cables in the picture below, I have them in place simply in case I have a broken clutch or throttle cable in the middle of nowhere (where such cable breaks usually occur).
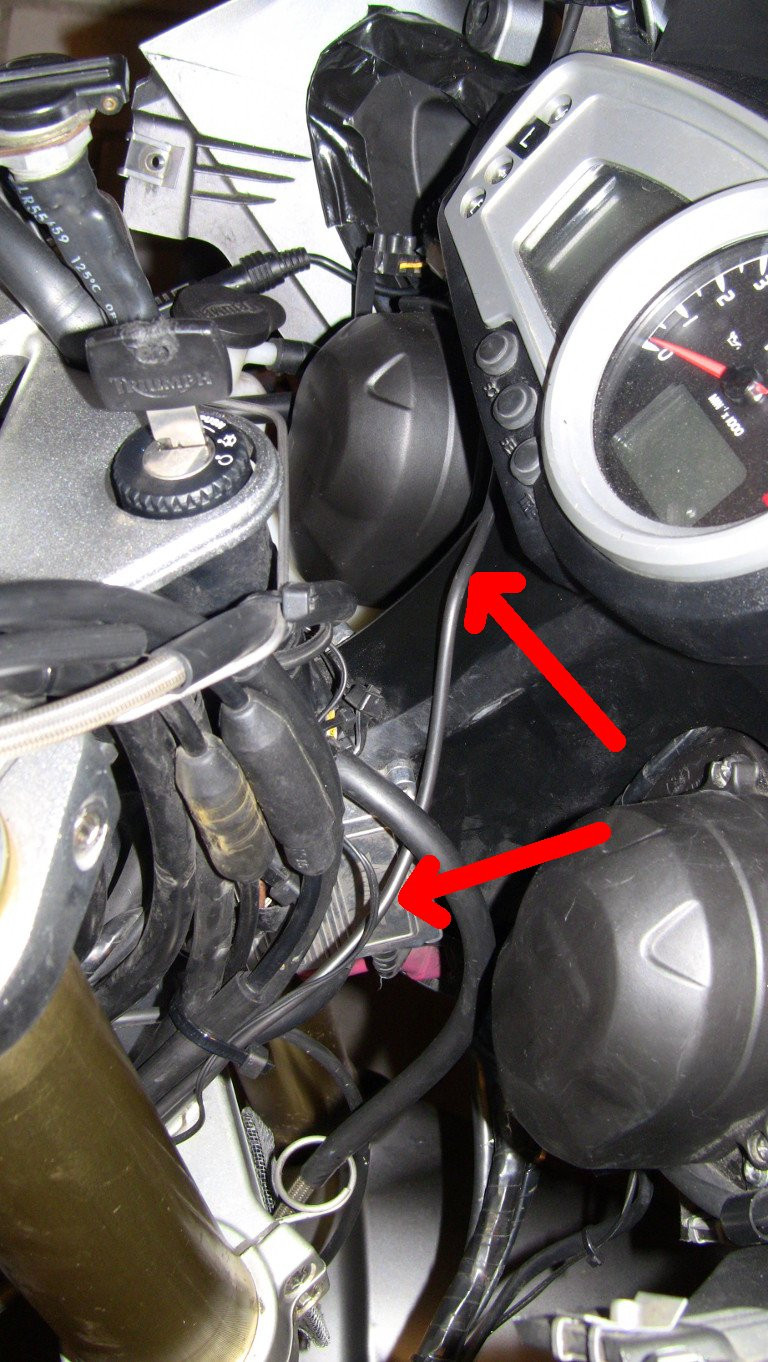
The cable supplied with the Gipro is rather short, so it is probably a good idea to route it around the steering head a directly as possible:
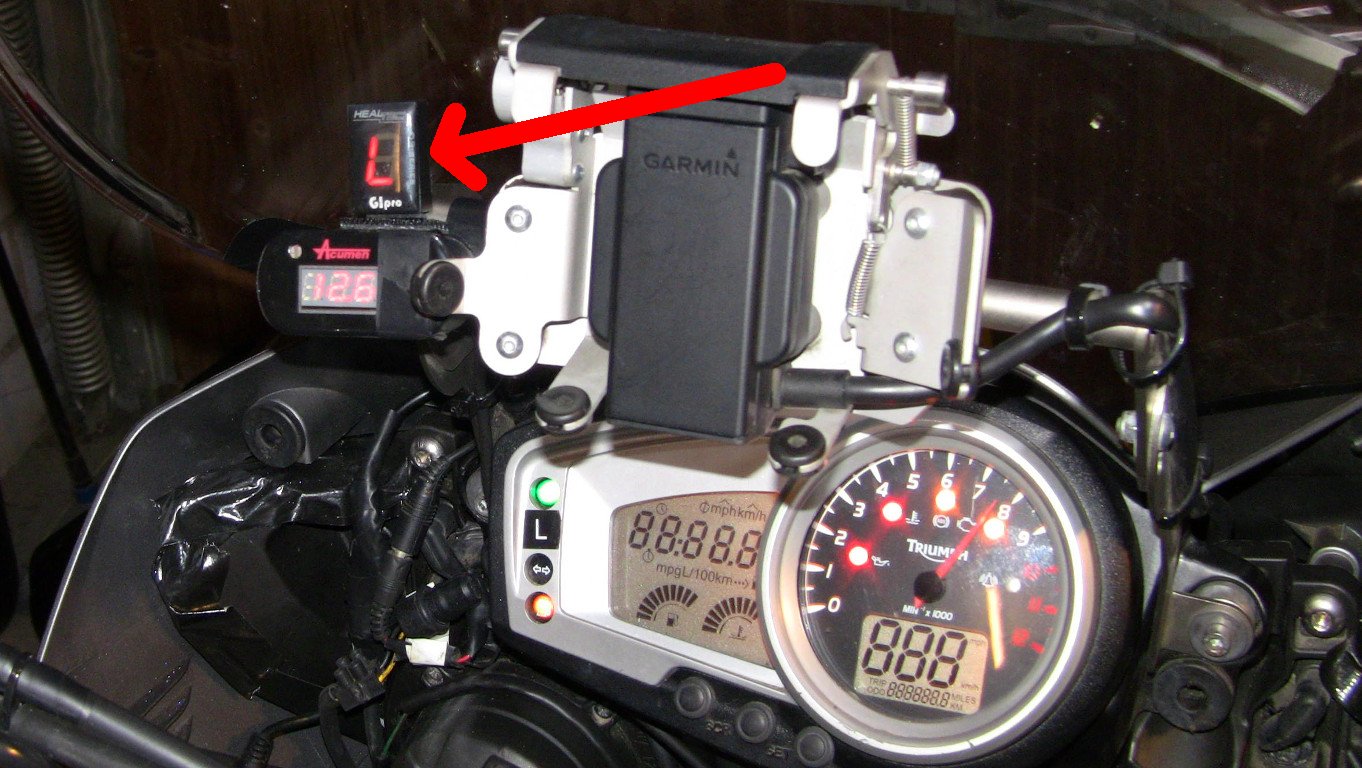
I have gotten so used to the position of the old DG8 unit that I placed the Gipro right on top of the old DG8 - which I still use to check on the alternator voltage.
If you do not have a GPS carrier to attach the Gipro to, then a possible alternative mounting point for the Gipro might be right below the instrument cluster. This will give you some extra length of cable to route, as the cable length supplied with the Gipro is very much on the short side. The Gipro should also be very well readable in direct sunlight in that location. Once the Gipro is in place on the dash we can then route the cable between the battery and the relay cluster and attach it to the power supply and the OBD II connector and tidy everything up so that nothing chafes and everything looks neat and tidy:
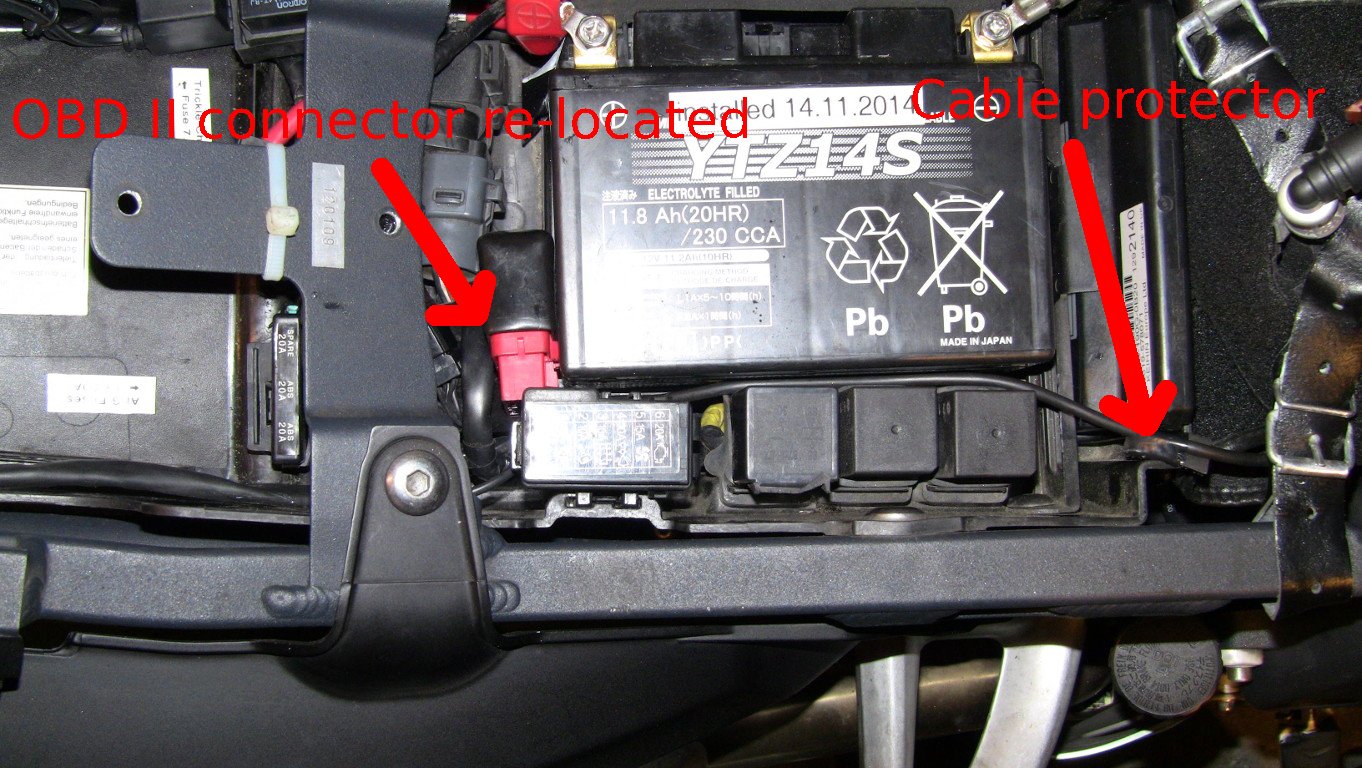
Because the cable of the Gipro is so short I have re-located the OBD II connector between the battery and the starter relay to have a few more inches of cable available for proper routing. Note the cable protector where the Gipro cable is routed past the ECU unit to prevent any chafing of the cable on the plastic of the battery tray.
Previous page - Home